We used a spectrophotometer in lab today. We found percent transmittance and absorbency of cobalt and chromium by placing a cuvette into the machine and setting a certain wavelength. Here's my data from the lab.
| Cr Ion |
|
|
| Wavelength (nm) |
% T |
Absorbance |
| 375 |
59.2 |
0.226 |
| 400 |
49.4 |
0.306 |
| 405 |
49.2 |
0.309 |
| 415 |
50.2 |
0.300 |
| 425 |
54.4 |
0.264 |
| 440 |
62.6 |
0.203 |
| 455 |
72.8 |
0.138 |
| 470 |
80.2 |
0.096 |
| 490 |
81.2 |
0.091 |
| 500 |
80.4 |
0.094 |
| 520 |
72.6 |
0.139 |
| 530 |
68.2 |
0.167 |
| 540 |
63.8 |
0.196 |
| 550 |
60.4 |
0.219 |
| 570 |
56.8 |
0.245 |
| 580 |
57.0 |
0.245 |
| 600 |
62.4 |
0.205 |
| 625 |
72.6 |
0.138 |
| Co Ion |
|
|
| Wavelength (nm) |
% T |
Absorbance |
| 375 |
98.8 |
0.006 |
| 400 |
92.4 |
0.035 |
| 405 |
90.0 |
0.047 |
| 415 |
86.4 |
0.063 |
| 425 |
80.4 |
0.094 |
| 440 |
66.0 |
0.180 |
| 455 |
49.6 |
0.305 |
| 470 |
40.2 |
0.396 |
| 490 |
32.2 |
0.492 |
| 500 |
30.4 |
0.518 |
| 520 |
31.6 |
0.500 |
| 530 |
38.0 |
0.422 |
| 540 |
47.8 |
0.320 |
| 550 |
58.6 |
0.232 |
| 570 |
78.6 |
0.104 |
| 580 |
85.4 |
0.069 |
| 600 |
90.2 |
0.045 |
| 625 |
92.2 |
0.036 |
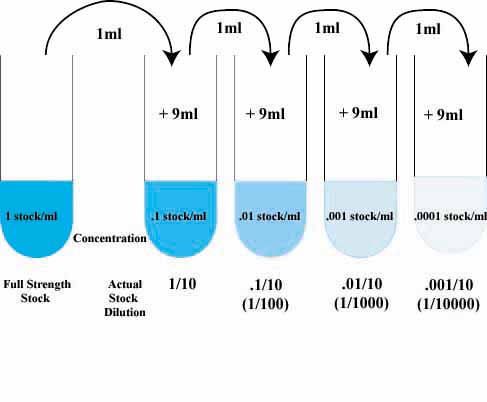
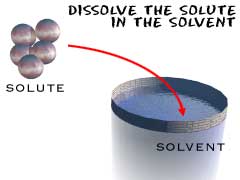
And some pictures


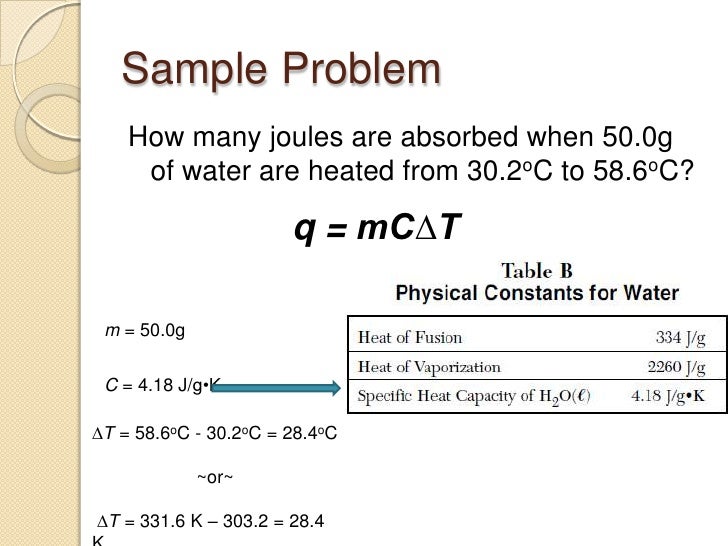


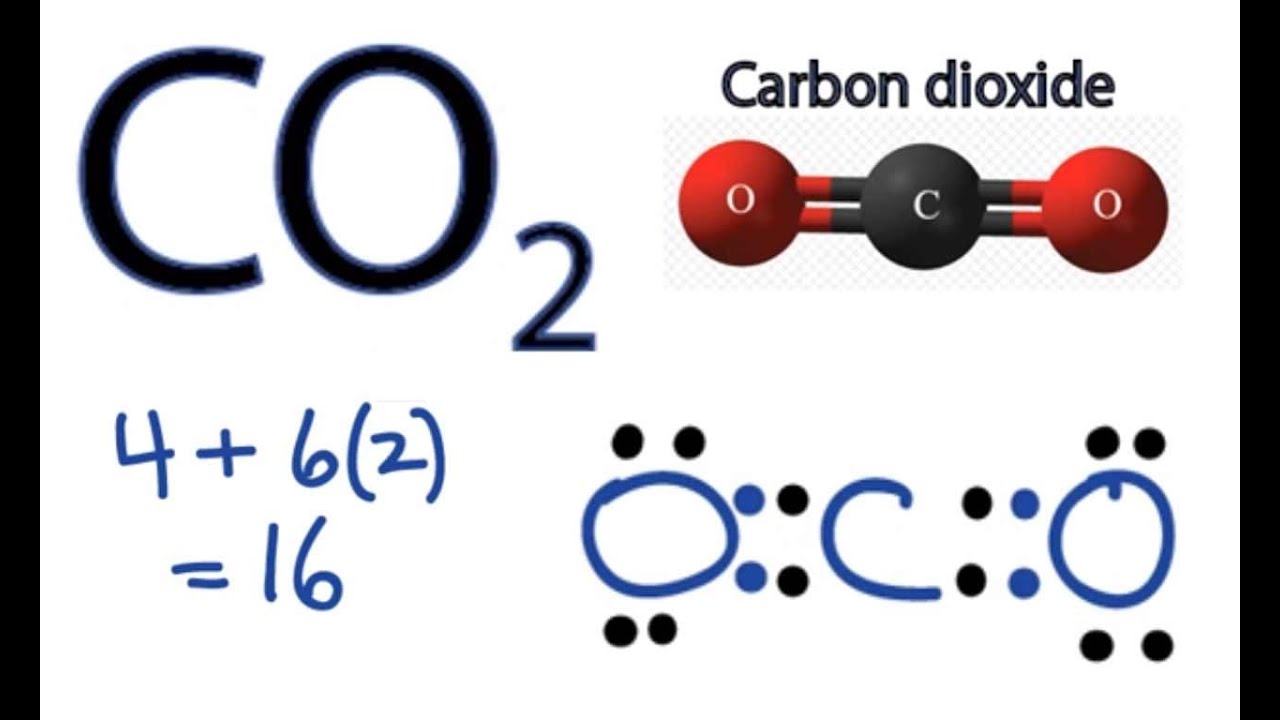
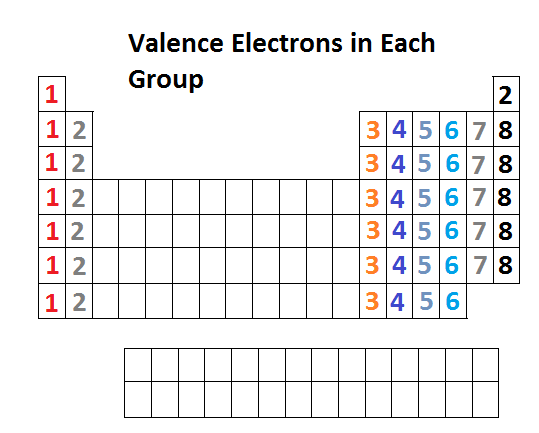 Octet Rule